
Your First Project
Start making incredible games with Atlas
Get Started with Atlas
In this guide, you'll create your first project using the Atlas Engine. Follow these steps to set up your development environment and build a simple application.
We'll assume you have already installed Atlas Engine by following the installation guide.
Once you have installed Atlas, open your terminal and run the following command to create a new project:
atlas create myProject
This will generate a new directory called myProject with the necessary files and folder structure.
Navigate into your project directory:
cd myProject
Open the project in your favorite IDE or text editor. If you're using Visual Studio Code, you can run:
code .
What we are going to do
In this tutorial, we will:
- Create a simple window
- Create a light
- Set up a camera to view the scene
- Pack and run the project
Create a Window
After creating your project, the first thing you want to look at the files you have:
The assets folder
The assets folder will contain all the resources you need for your project, such as textures, models and shaders. You can add your own assets here as you develop your application.
The build folder
The build folder is where the compiled binaries and intermediate files will be stored. You typically don't need to modify anything here manually.
The include folder
The include folder contains the header files for your project. You can add your own header files here as you create new classes and functions.
The lib folder
The lib folder contains any third-party libraries that your project depends on. You can add or update libraries here as needed. Atlas and its dependencies are usually managed automatically.
The <projectName> folder
The <projectName> folder contains the main source code for your project. It will be named after your project. This is where you will write your application logic and implement the features of your game or simulation.
Finally, we must take a look at the other two important files:
The CMakeLists.txt file
The CMakeLists.txt file is used by CMake to configure the build process for your project. It specifies the source files, include directories, libraries, and other settings needed to compile your application.
The atlas.toml file
This file contains information about how will atlas build your project. You can specify the project name, version, author, and other metadata here. You can also define build options, such as the target platform and graphics API.
Creating the Window
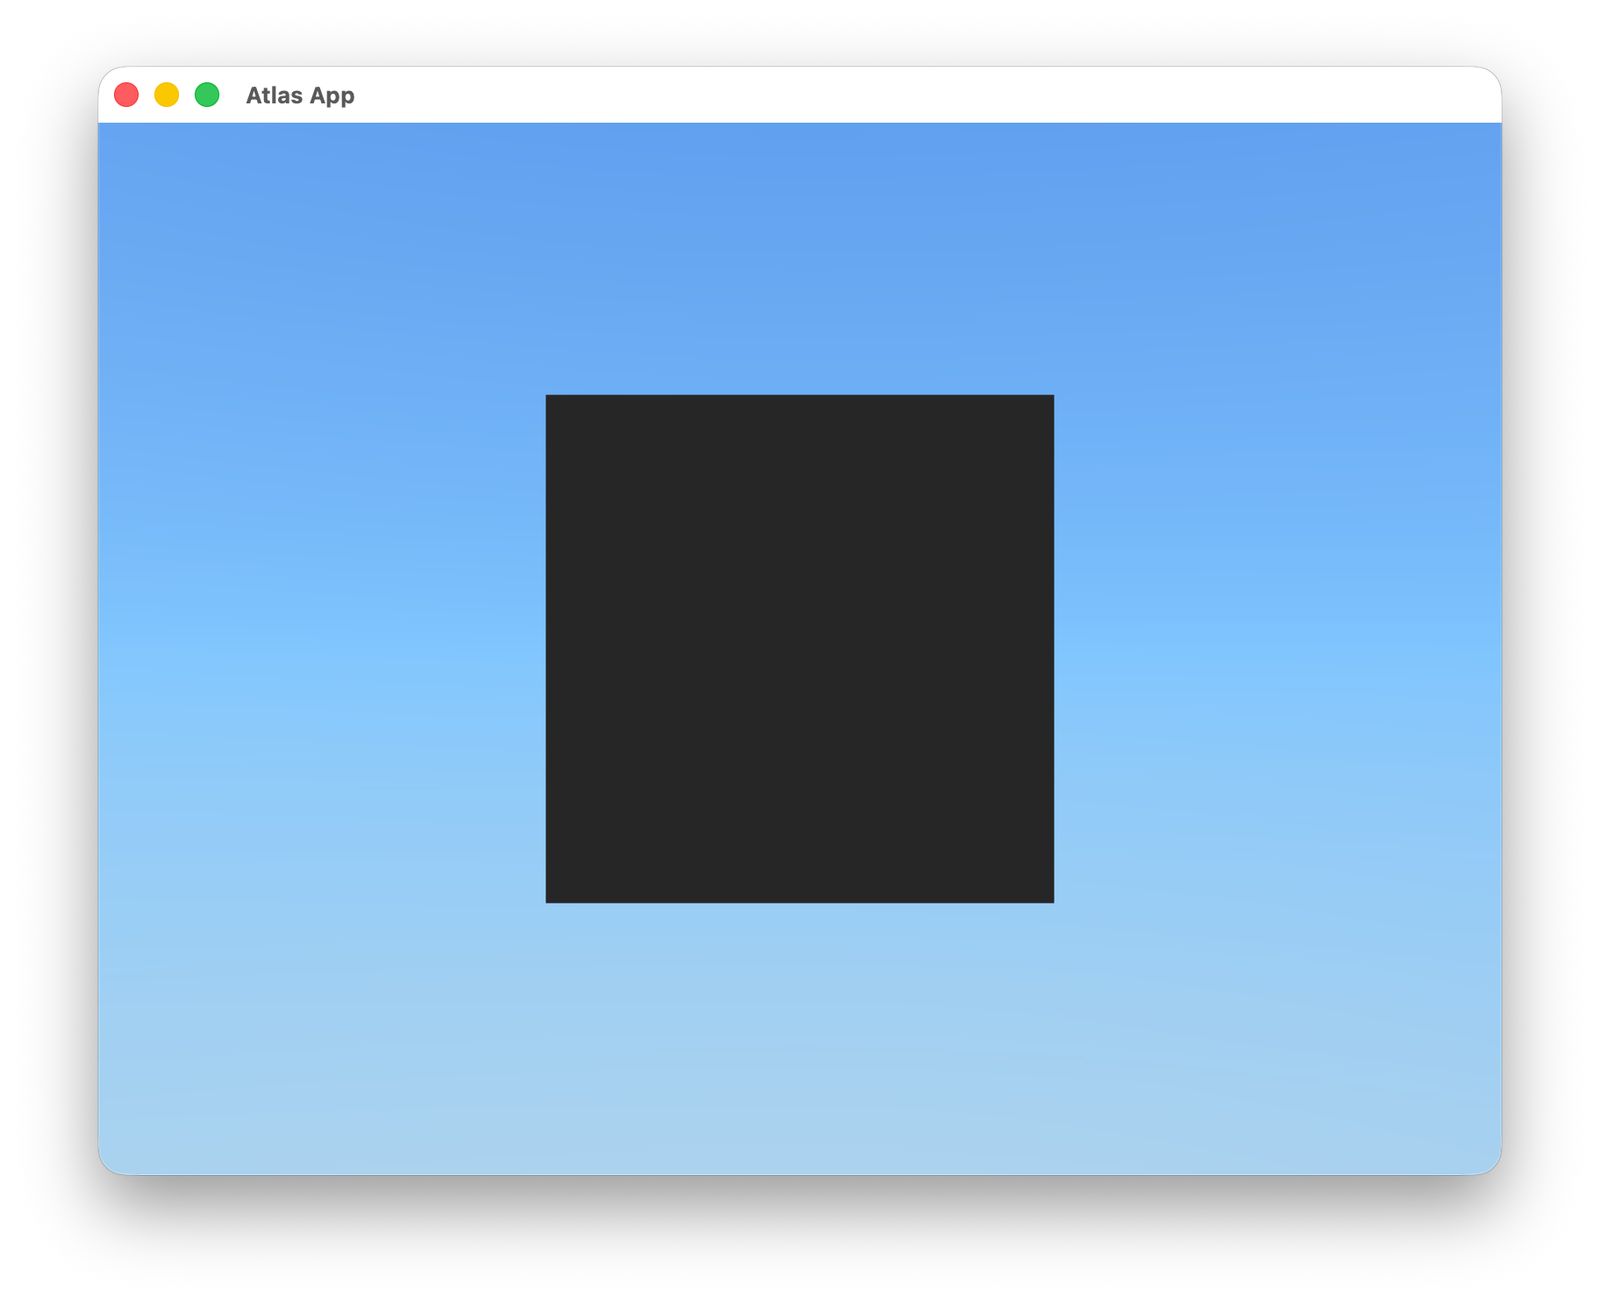
If you open the main.cpp file located in the <projectName> folder, you will see that Atlas has already set up a basic application structure for you. The code initializes the Atlas engine and creates a window and also puts a cube in the middle of the screen.
Let's take a look and break down the different parts of the code from top to bottom:
#include <atlas/object.h>
#include <atlas/scene.h>
#include <atlas/window.h>
This includes the necessary headers from the Atlas Engine to work with objects, scenes, and windows. Head to the documentation to learn more about these modules.
class MainScene : public Scene {
  public:
    CoreObject cube;
    Camera camera;

    void initialize(Window &window) override {
        camera = Camera();
        window.setCamera(&camera);

        cube = createBox({1.0, 1.0, 1.0});
        window.addObject(&cube);

        this->setAmbientIntensity(0.2);
    }
};
Now, Atlas is built thinking about different types of objects. Here is a diagram that defines perfectly how is the strucuture of the Atlas runtime:
flowchart TD
    PA(Window) -->|Always has| A
    PA(Window) -->|Always has| F(Current Camera)
    PA(Window) -->|Always has| G(A RenderTarget)
    PA(Window) -->|Contains| B
    B(Renderable) -->|Which can be| C(GameObject)
    B(Renderable) -->|Which can be| D(RenderTarget)
    B(Renderable) -->|Which can be| E(Skybox)
    C(GameObject) --> F(CompoundObject)
    C(GameObject) --> G(CoreObject)
    C(GameObject) --> H(Fluid)
    C(GameObject) --> I(Model)
    C(GameObject) --> J(ParticleEmitter)
    C(GameObject) --> K(Terrain)
    C(GameObject) --> L(UIObject)
    L(UIObject) --> M(UIView)
    L(UIObject) --> N(Text)

    A(Scene) -->|Responds to| Z(Events)
    Z(Events) -->|Like| T(Input)
    Z(Events) -->|Like| O(Updates)
    Z(Events) -->|Like| P(Initialization)
    T -->|Which handle| U(The Application State)
    O -->|Which handle| U
    P -->|Which handle| U

    U -->|Which manages| Q(Lighting)
    U -->|Which manages| R(Environment)
    U -->|Which manages| S(Object Lifetimes)
As you can see, the Window class always has a Scene, a Camera, and a RenderTarget. The Scene is responsible for handling updates, initialization, lighting, and environment settings. The Renderable objects can be of various types, including GameObject, RenderTarget, and Skybox.
The first thing we do in the code snippet is to create a new class called MainScene that inherits from the Scene class. This class will represent the main scene of our application. And looking at the diagram, we can see that the Scene class handles updates, initialization, lighting, environment settings, and most importantly, object lifetime.
Objects are passed to the engine as pointers, meaning the address in memory of the object is passed. Thus, objects must be long-lived. This means that they should not be deleted or go out of scope while the engine is using them. In this case, we define the cube and camera as member variables of the MainScene class to ensure they persist for the lifetime of the scene.
Now, here we can see the initialize method, which is overridden from the base Scene class. This method is called when the scene is initialized, and it receives a reference to the Window object.
void initialize(Window &window) override {
    camera = Camera();
    window.setCamera(&camera);

    cube = createBox({1.0, 1.0, 1.0});
    window.addObject(&cube);

    this->setAmbientIntensity(0.2);
}
Now, as said here we can see that we create a new Camera object and set it as the current camera for the window using the setCamera method. This camera will determine the viewpoint from which the scene is rendered. Next, we create a cube using the createBox function, which generates a box-shaped CoreObject with the specified dimensions (1.0, 1.0, 1.0). We then add the cube to the window using the addObject method, which makes it part of the scene to be rendered. Finally, we set the ambient light intensity of the scene to 0.2 using the setAmbientIntensity method. This controls the overall brightness of the scene.
By default, Atlas provides a basic lighting and environment setup, that's why you will see the cube with a background skybox.
To run the code, we have the main function:
int main() {
    Window window({"Atlas App", 800, 600, false, false});
    MainScene scene;
    window.setScene(&scene);
    window.run();
    return 0;
}
In the main function, we create a Window object with the title "Atlas App", a width of 800 pixels, a height of 600 pixels, fullscreen mode set to false and the capture cursor mode off. We then create an instance of our MainScene class and set it as the current scene for the window using the setScene method. Finally, we call the run method on the window, which starts the main application loop and begins rendering the scene.
To run this code, simply run atlas run in your terminal while inside the project directory. This will compile and execute your application, opening a window that displays the cube in the scene.
We managed to create a window and show a cube but the result is not as appealing as we would like. In the next sections we will enhance the scene by adding a light source and adjusting the camera position to get a better view of the cube. But first, let's tackle a bit with the material of the cube.
A material in Atlas defines how an object interacts with light and how it appears visually. Materials can include properties such as color, texture, reflectivity, and transparency. By applying different materials to objects, you can achieve various visual effects and enhance the realism of your scene.
Let's make our cube red. Here is a graph showing the elements of a material in Atlas:
flowchart TD
    A(Core Object) -->|Has a| B(Material)
    A -->|Contains| C(Textures)

    C -->|Can be| H(Color Texture)
    C -->|Can be| I(Normal Map)
    C -->|Can be| J(Metallic Map)
    C -->|Can be| K(Roughness Map)
    C -->|Can be| L(AO Map)

    B -->|Displays the color with| D(Albedo)
    B -->|Defines how shiny it is with| E(Metallic)
    B -->|Controls the roughness with| F(Roughness)
    B -->|Darkens areas with| G(AO - Ambient Occlusion)
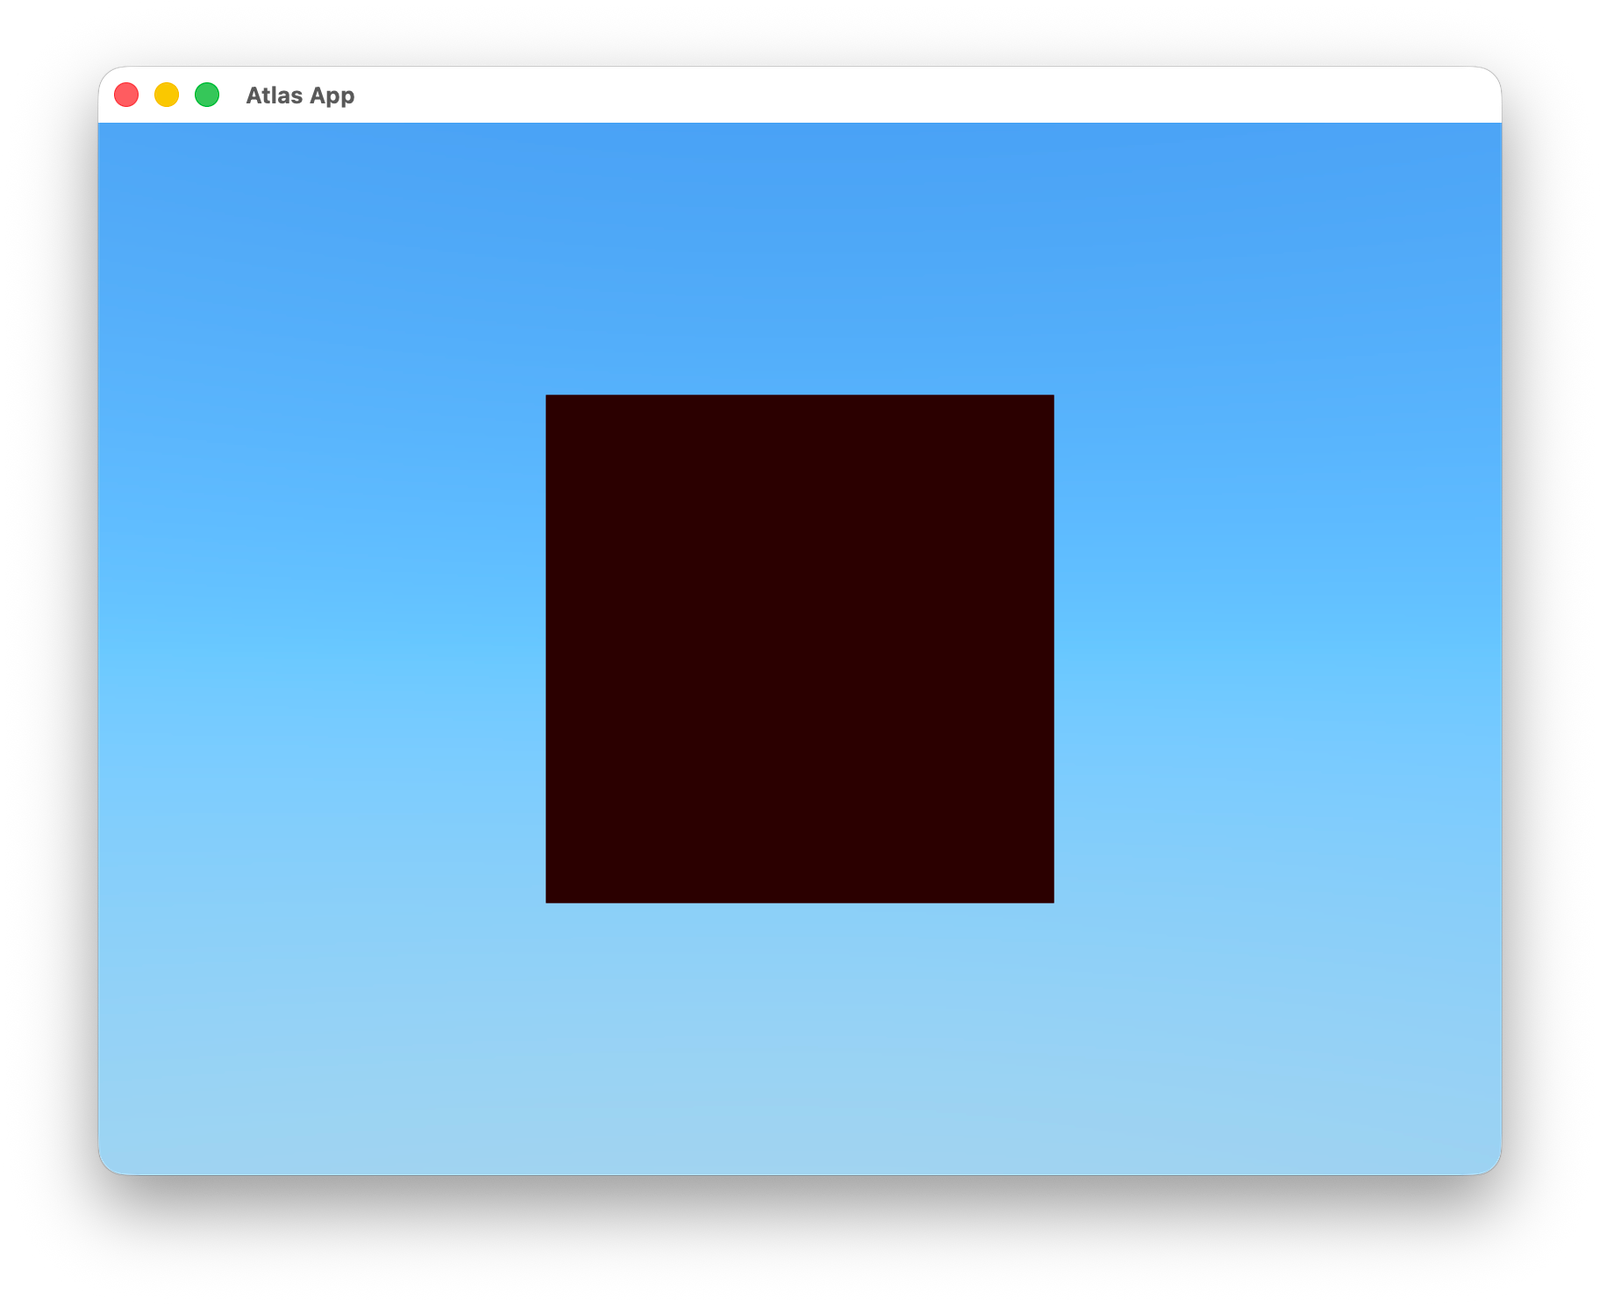
To keep it simple, we are going to change the albedo of the material to red. To do this, we need to modify the initialize method of the MainScene class as follows:
void initialize(Window &window) override {
    camera = Camera();
    window.setCamera(&camera);
    cube = createBox({1.0, 1.0, 1.0});

    cube.material.albedo = Color::red();
    window.addObject(&cube);
    this->setAmbientIntensity(0.2);
}
And include the units header at the top of the file:
#include <atlas/units.h>
Now you can see the red cube when you run the project again, although not lit very well:
Lastly, we're going to increase the viewport size. In main, double the window size from 800x600 to 1600x1200:
Window window({"Atlas App", 1600, 1200, false, false});
Create a Light
To enhance the visual appearance of our scene, we will add a light source. Lights are essential in 3D graphics as they illuminate objects and create shadows, highlights, and depth.
Now, the first thing you need to understand is that Atlas supports different type of lights. These are:
- Directional Lights: These lights simulate sunlight and emit light in a specific direction. They affect all objects in the scene equally, regardless of their position.
- Point Lights: These lights emit light in all directions from a single point in space. The intensity of the light decreases with distance from the source.
- Spotlights: These lights emit a cone of light in a specific direction. They have a position and a direction, and the light intensity decreases with distance and angle from the spotlight's direction.
- Area Lights: These lights emit light from a defined area, such as a rectangle or circle. They provide soft, diffuse lighting and are often used to simulate large light sources like windows or lampshades.
And also, you can find in the scene the ambient light, which is a global light that affects all objects in the scene equally. It provides a base level of illumination and helps to simulate indirect lighting. Right now, we have set the ambient light intensity to 0.2, which gives a dim overall illumination to the scene.
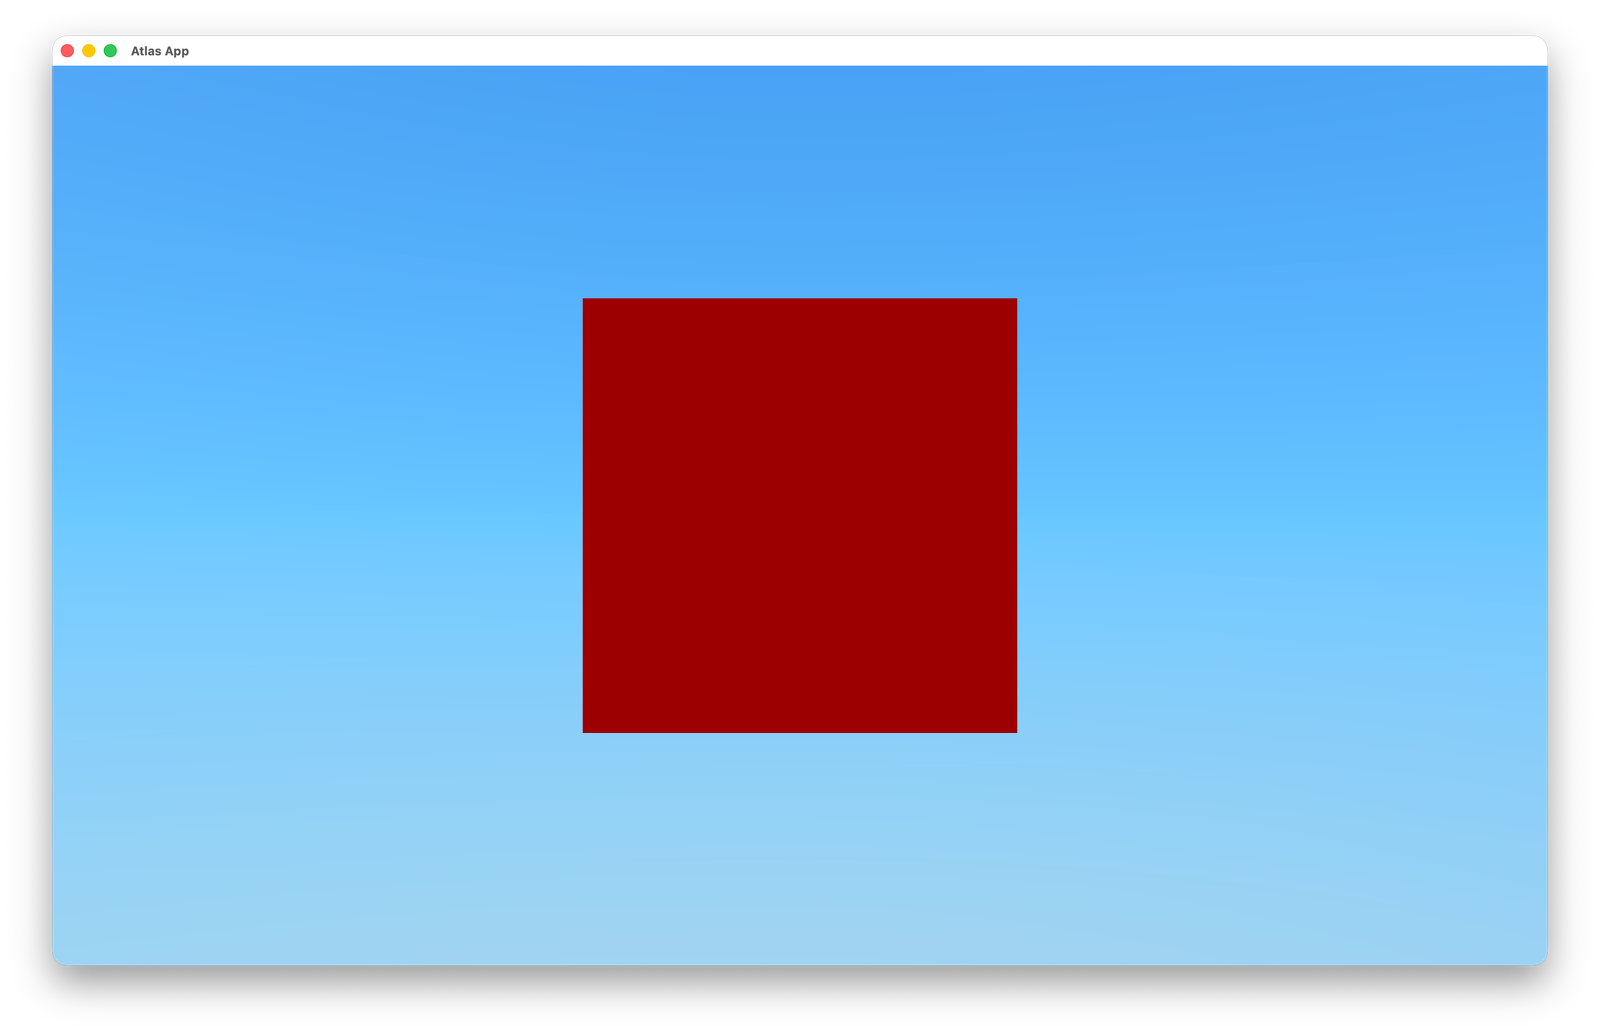
The first thing we are going to do is to make Atlas calculate the best ambient light for us. To do this, we will remove the line where we set the ambient intensity in the initialize method and add the option to calculate it automatically:
void initialize(Window &window) override {
    camera = Camera();
    window.setCamera(&camera);
    cube = createBox({1.0, 1.0, 1.0});

    cube.material.albedo = Color::red();
    window.addObject(&cube);

    this->setAutomaticAmbient(true); // Enable automatic ambient light calculation
}
With this, we can render again and see that the cube is a bit more visible now:
Set up a Camera
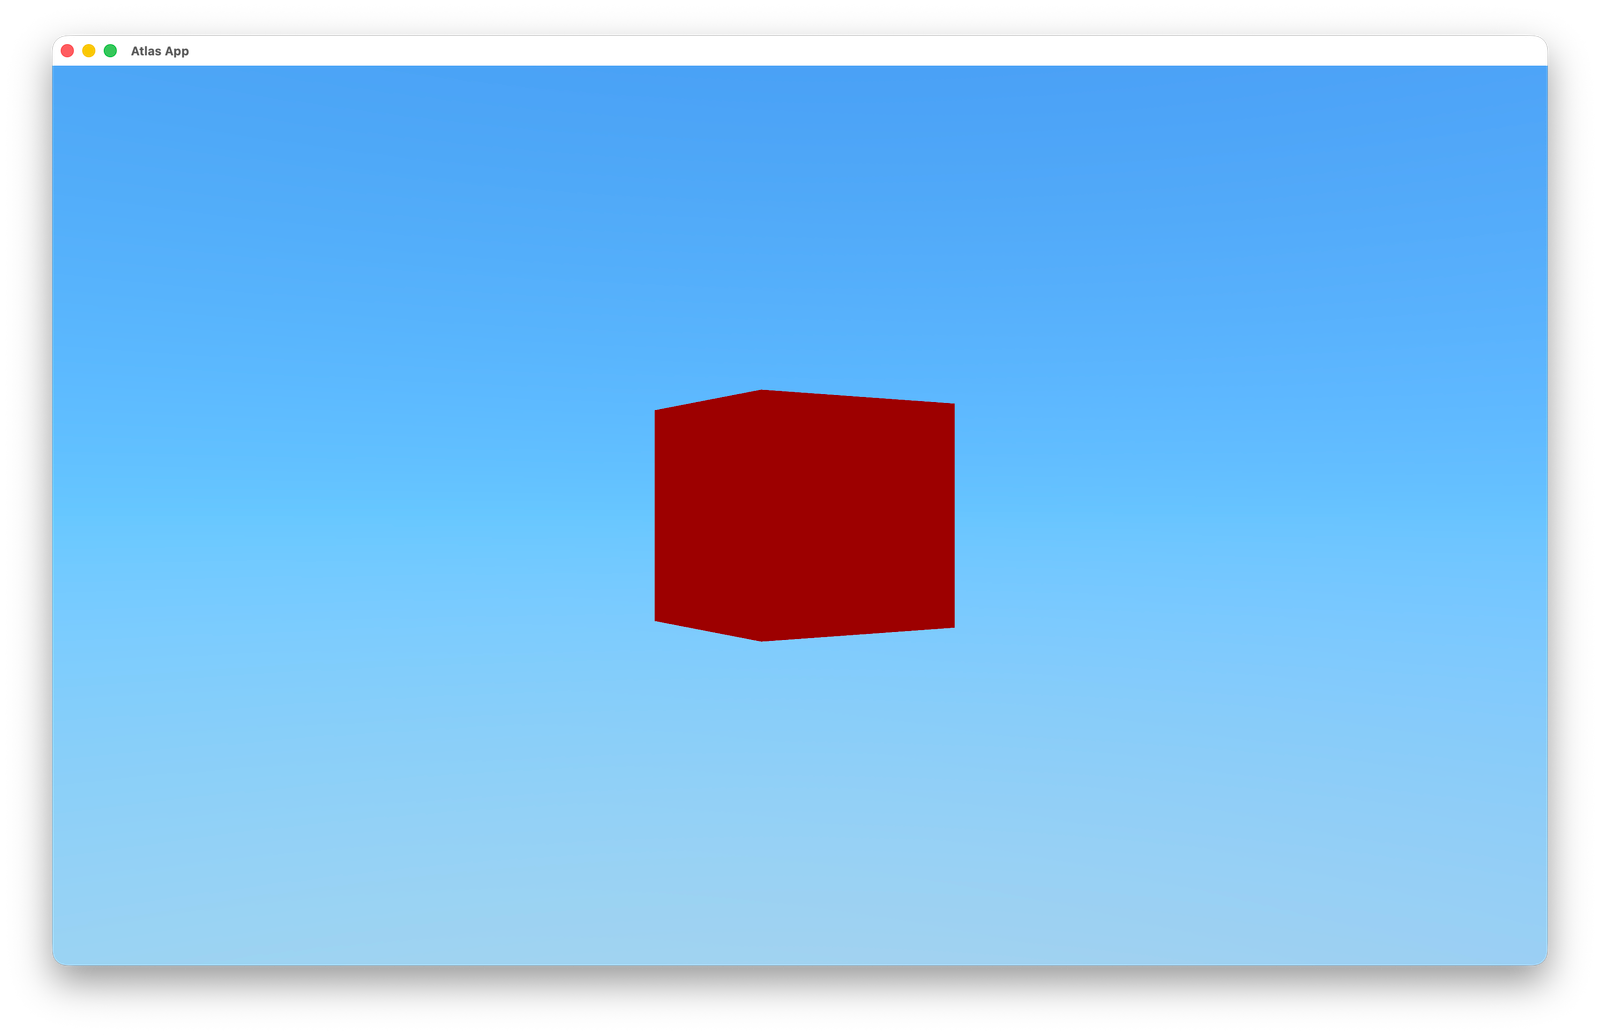
To get a better view of the cube, we will adjust the camera position and orientation. By default, the camera is positioned at the origin (0, 0, 0) and looks down the negative Z-axis. This means that if we place an object at the origin, it will be very close to the camera and may not be fully visible.
To change the camera position, we can modify the initialize method of the MainScene class as follows:
void initialize(Window &window) override {
    camera = Camera();
    camera.setPosition({0.0, 0.0, 5.0});
    window.setCamera(&camera);

    cube = createBox({1.0, 1.0, 1.0});
    cube.material.albedo = Color::red();
    window.addObject(&cube);

    this->setAutomaticAmbient(true);
}

Now, you can see the cube from a farther distance, making it fully visible in the window. But what if we want to see it from a different angle? We can rotate the camera around the cube to get a better view. And better, we can make the camera orbit around the cube continuously to create a dynamic effect. To achieve this, we will override the update method of the MainScene class and add the following code:
void update(Window &window) override {
    static float angle = 0.0f;
    float deltaTime = window.getDeltaTime();
    angle += deltaTime; // Increment the angle based on the elapsed time
    float radius = 5.0f; // Distance from the cube
    float x = radius * cos(angle);
    float z = radius * sin(angle);
    camera.setPosition({x, 0.0f, z});
    camera.lookAt({0.0f, 0.0f, 0.0f}); // Make the camera look at the cube
}
And that's it! You have successfully created your first project using the Atlas Engine. You have set up a window, added a cube with a red material, created a light source, and adjusted the camera to get a better view of the scene.
Pack and Run the Project
But before finishing, let's see how to pack and run the project properly. Packing the project involves compiling the source code and bundling all necessary assets into a distributable format. This process ensures that your application can be easily shared and run on different systems.
Before packing the project, let's take a look at the atlas.toml file. This file contains configuration settings for your project, including metadata such as the project name, version, and author. You can also define build options, such as the target platform and graphics API. This is the default version:
[project]
name = "myProject"
app_name = "myProject"

[pack]
icon = "none"
supported_platforms = "all"
Now, let's add an icon to our project. You can use any image file you like, but it's recommended to use a square image with a resolution of at least 256x256 pixels for better quality. Place the image file inside the assets folder of your project. Then, update the atlas.toml file to include the path to your icon:
[project]
name = "myProject"
app_name = "myProject"

[pack]
icon = "assets/my_icon.png"
supported_platforms = "all"
The first thing is to run the following command in your terminal while inside the project directory:
atlas pack
In the app folder that is created after packing, you will find the executable file for your application along with all the necessary assets bundled together. You can now share this folder with others or run the application on different systems without needing to set up the development environment again.
That's it for this tutorial! You have successfully created, packed, and run your first project using the Atlas Engine. From here, you can continue to explore the engine's features and build more complex applications. Happy coding!
Max Van den Eynde from Atlas Engine, November 2025